BRAIN STORM
MOODBOARD


ARTIST RESEARCH
Wes Naman
|
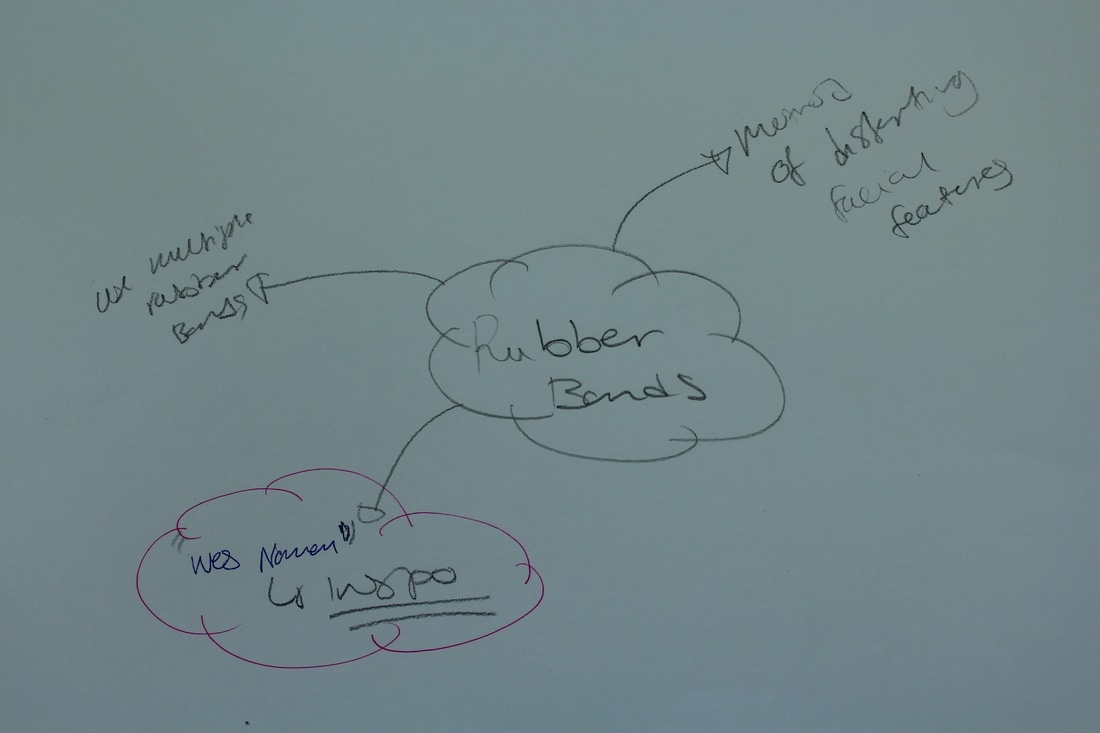
Wes Naman is a self taught photographer from New Mexico. he completed a body of work titled 'Rubber bands' which i found very interesting. Naman used rubber bands as a prop to manipulate and distort facial features. The outcome was interesting yet uncomfortable to look at.
|

|


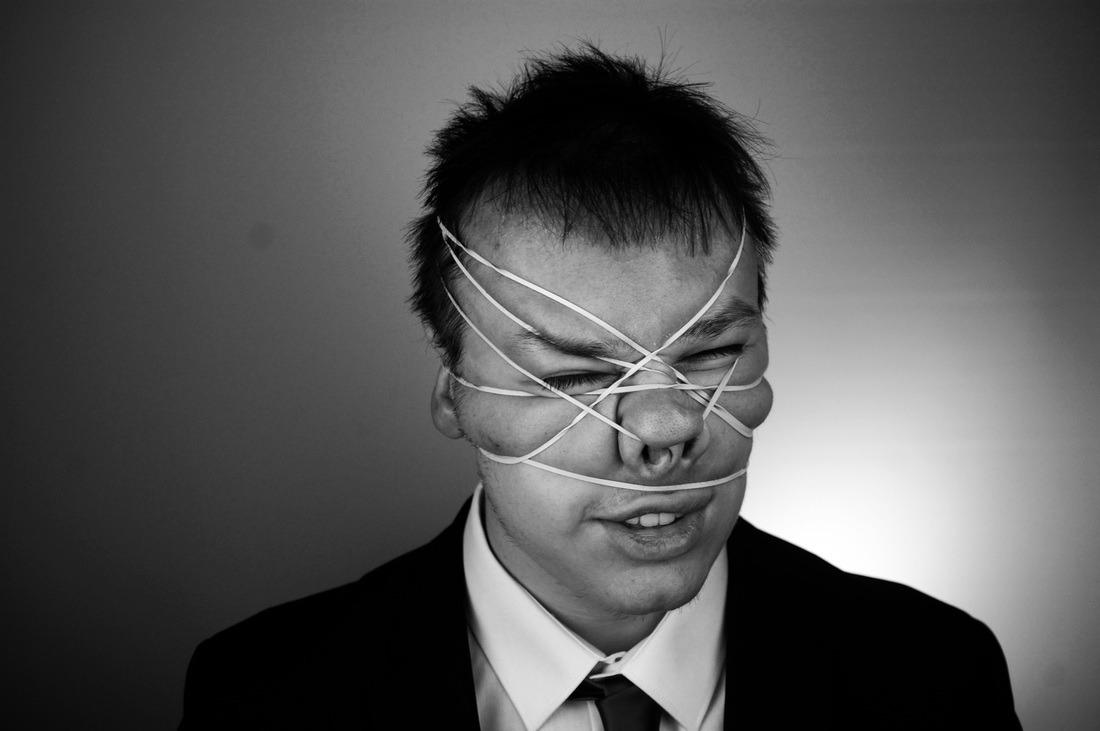
The subjects in these photographs are wrapped in rubber bands . The photographer uses these to distort the faces of the subjects, this adds some depth to the image, making it more interesting and drawing the audiences attention. this b body of work was titled 'rubber bands' which is quite self explanatory.
The images do not display bold colour but instead dull/cold colours which have sinister connotations , perhaps to compliment the distorted faces of the subjects. one of the subjects has a scary, sinister facial expression which adds to the effectiveness of the image. the rubber bands create patterns on the subjects faces.
These images were most likely taken in a studio and the shadows in the photographs suggest that the photographer might have use one light source. these images are not manipulated a lot post production perhaps only the contrast is exaggerated and developed post production.
IDEA SHEETS

|

|

|
PHOTOSHOOT ONE
LOCATION: LAMPTON SCHOOL STUDIO
OBJECTIVE: PRACTICE APPLICATION OF RUBBER-BANDS AND LIGHTING
OBJECTIVE: PRACTICE APPLICATION OF RUBBER-BANDS AND LIGHTING
USING PHOTOSHOP
step 1) duplicate layer
step 2) go to 'image' 'adjustments' then turn the image black snd white
step 3) change the levels, which can be done by selecting the levels icon on the tool bar on the right
step 4) once levels have been changed to a suitable amount, change the levels layer to 'overlay' which will allow of a contrast
PHOTOSHOP OUTCOMES


These were the final outcomes of photo-shop, my favourite is the one on the right because the contrast makes the subject stand out. the use of spray lighting on a black and white image makes the subject stand out even more against the background. The models facial expressions also add to the image and make it look more distorted. my least favourite edit would be the one n the middle. This was because i did not use the brightness contrast tool which meant that the subject was slightly blended into the background and the image was not exaggerated in anyway. With the image on the left i decided to use glasses ass a prop and although it gave the image a unique look, it drew away from the rubber bands which were the main focal point.
PHOTOSHOOT TWO
LOCATION: LAMPTON SCHOOL STUDIO
OBJECTIVE: SHOOT FOR FINAL PIECE
OBJECTIVE: SHOOT FOR FINAL PIECE
In this photo shoot i tried to play around with the subjects hair, i tried to use it as a tool to further distort the images,however, the hair just made the images look cluttered and it covered the subjects face. unfortunately i did not use spray lighting which hindered the outcomes to some extent. overall my favourite image would be the middle image because the subjects face is well lit and the right hand side of the subjects face was distorted.
PHOTOSHOOT THREE
LOCATION: LAMPTON SCHOOL STUDIO
OBJECTIVE: SHOOT FOR FINAL PIECE
OBJECTIVE: SHOOT FOR FINAL PIECE
In this photo-shoot i use spray lighting, i also costumed the subject in black which contrasted the white background. i also used a larger number of rubber bands to distort the subjects face. I like the image on the right because of the models facial expressions which add to the overall image. i think this photo shoot went well because the lighting was good and so was the application of rubber bands.
PHOTOSHOOT FOUR
LOCATION: LAMPTON SCHOOL STUDIO
OBJECTIVE: SHOOT FOR FINAL PIECE
OBJECTIVE: SHOOT FOR FINAL PIECE
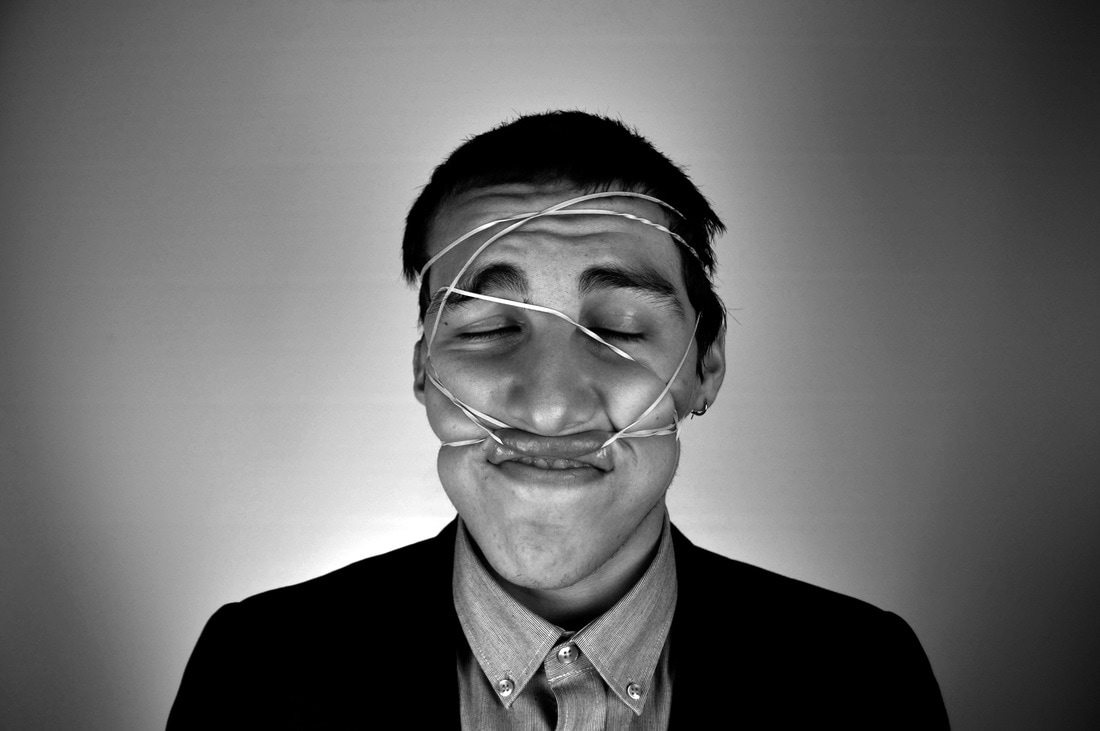
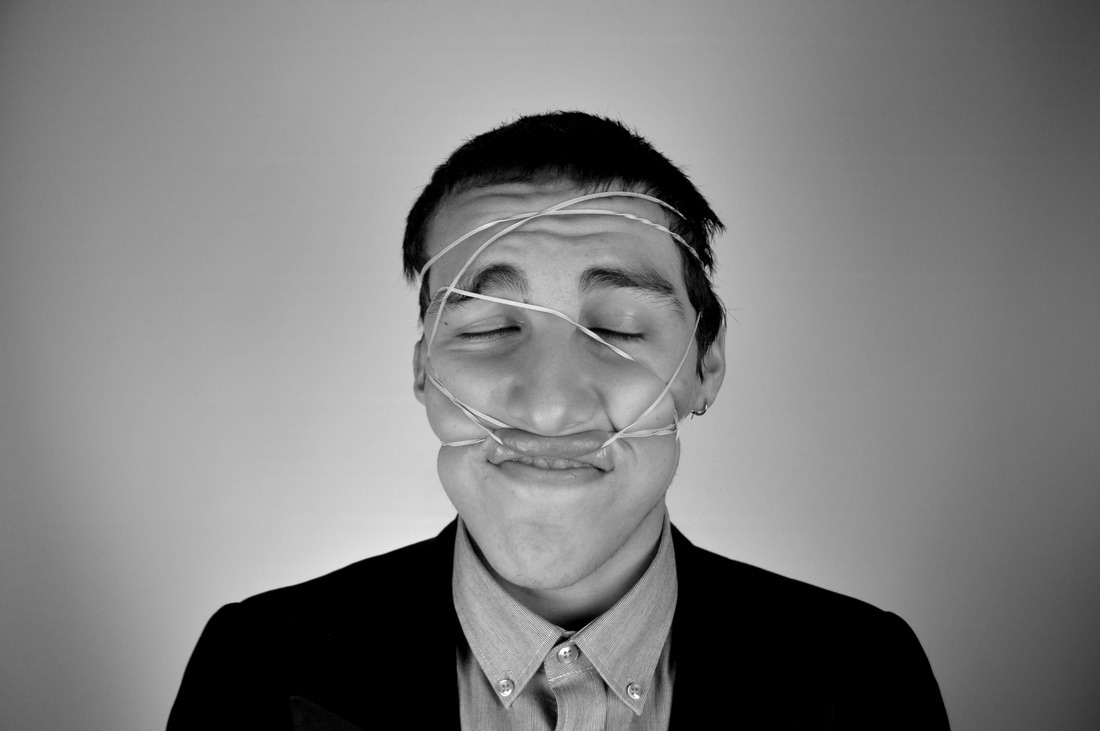
In this photo shoot i tried to focus on distorting mostly one side of the subjects face as opposed tho their entire face. This was because I was trying to achieve a slightly different look to the other photo shoots. although i changed the way in which i used the rubber bands, i kept the lighting the same and the costumes as smart casual to create a sense of uniform with the various photo-shoots.
EXPERIMENTATION


|
|


FINAL PIECES